Application Support Note
ASN-2004-207
Sending a Faxshot using axis diplomat 2004 and Zetafax
Last Reviewed: 06/07/2006
Products affected: axis diplomat 2004
Introduction
Mass faxing (or 'faxshots') of a standard document (for example, a flyer created in Microsoft™ Word) using a list of customers and/or prospects held within your axis diplomat Sales Ledger is relatively straightforward, via CSV (comma separated variable) files, using Equisys Zetafax. Please note that you do not need the Zetafax API Toolkit in order to undertake fax shots using the method described below.
Fax Preference Service
Please note that it is your responsibility to ensure that the individuals and/or businesses that you fax are not registered with the Fax Preference Service. If you wish to build FPS checking into your axis diplomat system, please look at the TPS & FPS Validation Module. Companies that undertake frequent or large fax shots may also want to look at the Campaign Management Module.
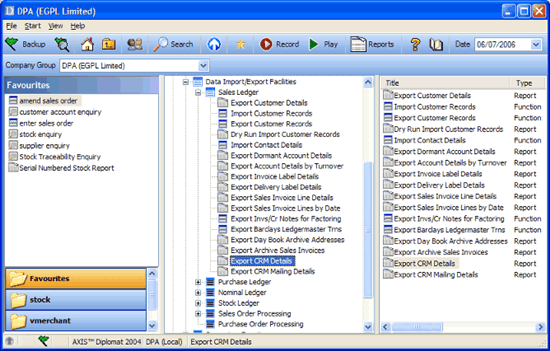
Extracting the data from axis diplomat
You need to run the function Export CRM Details, found on the Data Import/Export Facilities, Sales Ledger menu:
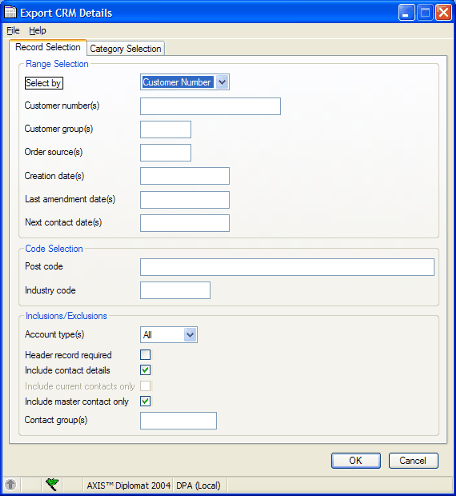
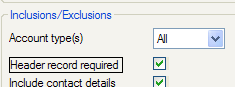
Complete the selection criteria as appropriate to the range of customers that you are faxing. It is imperative that the Header record required box is ticked (this is not ticked by default).
If you wish to select using Custom Categories, click on the second tab, Category Selection:

Click "OK" and you are offered a standard "Save As" dialogue. The default filename is extract.csv and the default location is \axis2004\csv\{company id}, where {company id} is your axis diplomat company ID, for example CO1. You can change the name and/or location but you must keep the .csv suffix.
You now have a CSV file that can be used as an address list in Zetafax, once it has been prepared in Excel.
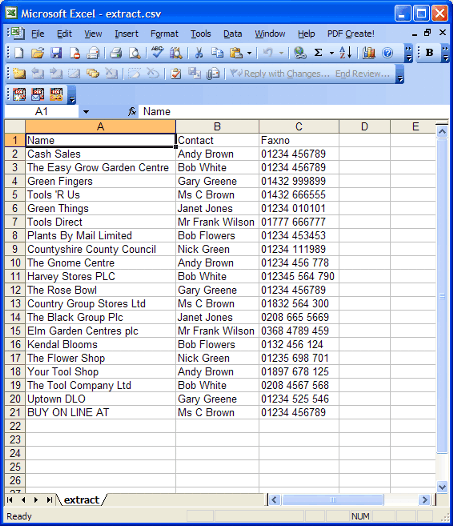
Preparing the data using Excel
Zetafax is not designed to cope with the number of fields of data in the extracted file. It is therefore necessary to remove the unwanted columns using Microsoft Excel. Delete all columns except those headed Name, Contact and Faxno. It should then look something like this:
Save the spreadsheet. As with all CSV files, Microsoft Excel will produce the following warning:

Click Yes. When you then close the spreadsheet or Excel itself, you may then get a subsequent warning:

Assuming that you have previously saved the spreadsheet, you can safely click on No. If you have changed the spreadsheet since last savng it, click Yes, and you will then get the previous warning highlighted above.
Sending your Faxshot
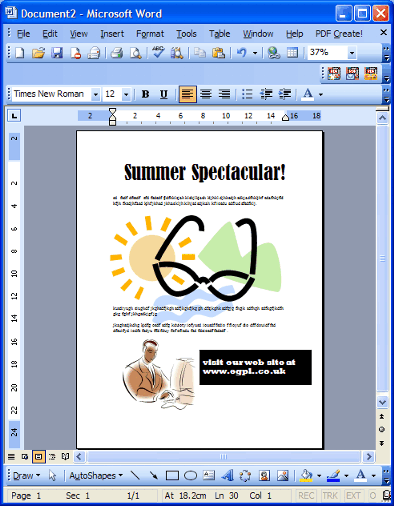
Use the software that you have used to prepare the document to be faxed (for example, Microsoft Word, Adobe Illustrator or Quark):
Print the document in the usual way for that package and select Zetafax Printer as the printer device:
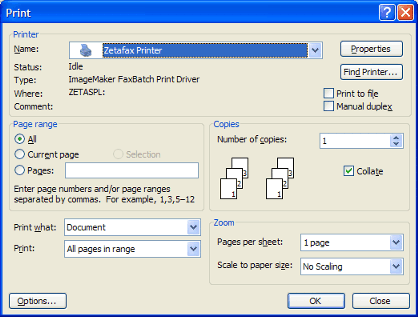
This will produce the following dialogue:
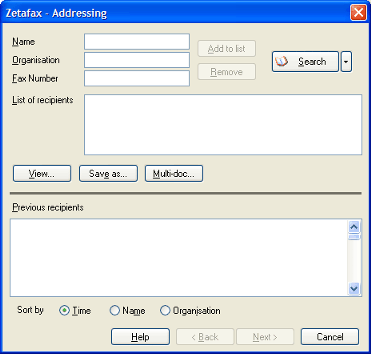
Click the Search button, which produces this dialogue:

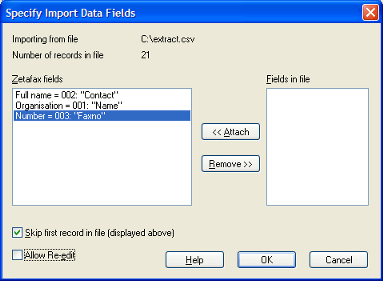
Select "Import text file ..." as the Data source and, using the resultant standard Open File dialogue, open the file created by axis diplomat (typically extract.csv). You are then offered the following dialogue:
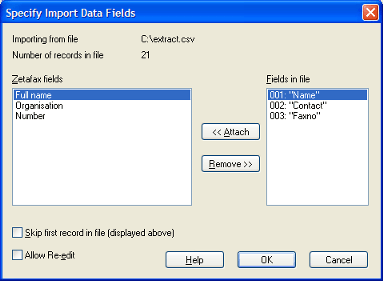
This dialogue is inviting you to match the fields in the axis diplomat-generated file to the fields that Zetafax expects. Zetafax requires three fields in order to be able to send a fax - the Full name (i.e. the persons name), the Organisation and the (fax) Number. These correspond to the "Contact", "Name" and "Faxno" fields respectively within the axis diplomat-generated file. For each Zetafax field, highlight the appropriate field in the right hand column and click "Attach". You also need to ensure that the "Skip first record in file (displayed above)" box is ticked.
When you have finished, the screen should look like this:
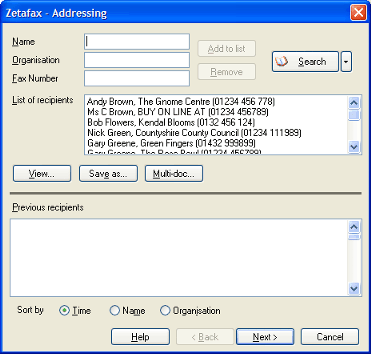
Click OK. You are then returned to the Address Book dialogue where you can click "Add all" to add all of the entries from your file to the list of recipients. This then returns you to the standard Zetafax Addressing dialogue:
You can then proceed to send the faxes in the usual way, following the standard Zetafax Addressing dialogue - by clicking Next, and entering any required coversheet details (senders name, subject, etc.) - if you do not need a coversheet sent with the fax, set the Coversheet to (None).

Zetafax typically blocks transmissions into a maximum of 50 recipients so if, for example, your faxshot consists of 213 recipients, you will see 5 entries in your outbox within Zetafax - the first four for 50 recipients each, whilst the fifth entry will be for 13 recipients.
Revision History
Revision |
Date |
Changes |
1.0 |
06.07.06 |
Created |